
| Making the Holly Leaf: Departing from my usual way of showing things I'm not linking these thumbnails to larger pictures. I think it's better seen as a whole. First trick is to reduce the Holly Cane into a tapering cone, form like a leaf and then slice. So you have a gradation of size leaves to work with. I reduced the Holly Cane into two of these cone shapes for I had two faces to embellish. This shows one half of this cane made into leaves. | ||
|
This is the tapered cone sliced. The two sizes by the penny show the size range you get when you cut the cone. |
These are the separate steps for making the leaf after you made your Holly Cane. |
|
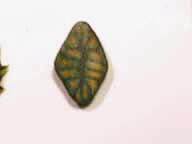
Take a slice and smooth the edges down, that makes the back of the leaf have the brown surround sheet making it darker. |
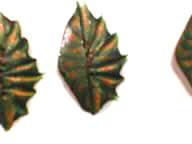
With a clayshaper tool run an indentation line down the brown veins of the leaf, pulling points out at the outer edge. |
|
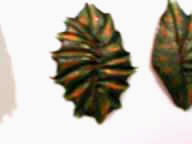
Pull the points out on both sides and then make an indentation down the center vein. I take a razor's edge and make a V shape in that center vein. |
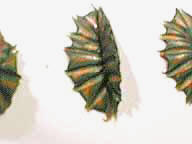
With the razor's V shape indentation it's easier to lift one side and fold it to the center at a 45 degree angle. Do this with a razor's edge. Lift it up off the tile with the razor. |
|
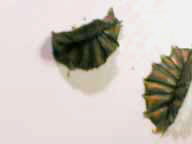
After lifting the leaf up with the razor's edge take one end of the Holly leaf with thumb and forefinger and bend it over your finger tips. There ya go, a Holly Leaf. |
Screen Shots for Holly Daze of 2003
|
|
|
Make leaves until you run out of
slices, line them up like this so you can make the sides of the embellished
face symmetrical.
|
||
|
Home
Monthly Highlights Since 8/2003 |
The official Clay vendor for |
ComboTutes:
New and old stuff First Three Years - Biz-Archive NJ Archive 1997-1999 |