
Lower face: 1, 2, 3, 4,
Go on to see the Upper part of the face being made.

|
|
|
Skulls, faces and races 4-d Lower face: 1, 2, 3, 4, |
Back to the
Eyejob
Page
Go on to see the Upper part of the face being made. |
 |
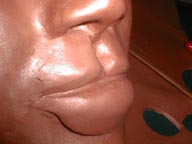
When you get the edge of the nose where you want it to be, then drill the nostrils. Pull the tool outward and it will make that bowl shape. This is easier than getting symmetrical bowl shapes by sculpting down from the top. Now to build up the lips. |
 |
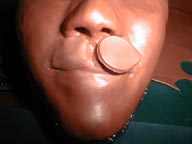
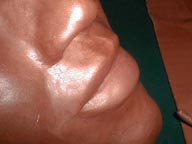
So there was the first layer. Then a second layer and still those lips aren't quite African, so this is the third layer. Taking a large circle cut out and slicing out the middle of it so what we're putting here are less than half circles. |
 |
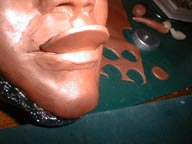
Honest, it's easier to build up a face like this than to sculpt a mass of clay down from the top. We are adding more mass to the lower lip by attaching the clay from the not seen side first. |
 |
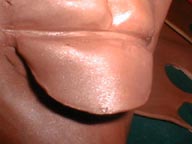
Like adding a cuff to a shirt or facing to a neck hole, do the not seen side first, and then fold down. Make sure you smooth that sheet of clay like you do wall paper, get them air bubbles out before you attach the bottom and seal them in. |
 |
The air bubbles, if not removed at this phase, will expand in curing. Hot air expands and so will that lip if the air bubbles aren't eased out. It'll make this brother look like he got a bee sting on his lip. Not pretty. |
 |
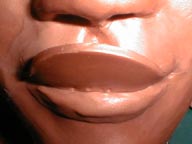
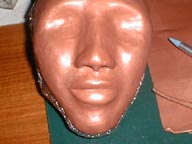
Our own Lenora in Texas picked this picture as the most "kissable". I'm tickled that she thinks so. I used my son's friend "Ant" as the model and he is FINE. All cute with his green eyes. Tall, coffee with milk, green eyes, and a nice young man. |
 |
Now this lower face was not hard to construct when you have a form under it to start with. When you add mass with leaf and circle cut outs. When you build up from the bottom instead of mashing and mucking down from the top. |