
Norajean.com
Biz-Archive Tute-List |
|
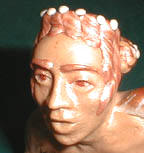 NagaMan NagaMan |
1, 2,
3, 4,
5, 6,
7, 8
|
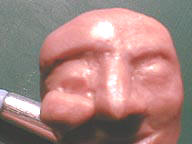 |
Looking
closely at the forehead after it got smoothed down, there's areas we need to
pay attention to. The inside corner of the eye, next to the bridge of the
nose. Where the top of the nose merges into the brow ridge. |
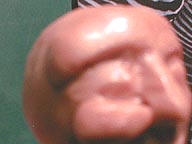 |
Pull
the mass from the nose bridge down to the eye booger area. Oh the picture is
a bit blurry but my zebra mouse pad in the background looks great. LOL |
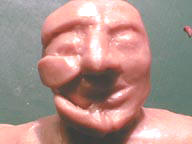 |
Rolling
a tool over the cheek mass just like the forehead. The cheek mass was a tear
shape to begin with. This makes getting the uplifted muscle in a smile
easier to sculpt. Laugh lines just make themselves this way. |
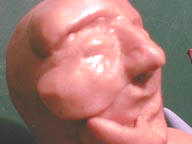 |
See
the tool marks around the eye? Where I'm pulling clay down from the brow, in
from the nose. This not only brings mass to the eye, but it also defines the
nostril and side of the nose. Smoothing the cheek clay down so the laugh
line is a line and not a ledge. Below the eye the cheek gets merged down to
eye level. |
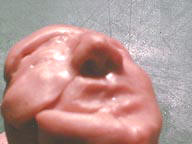 |
Drill
the nostrils at this point. Until now the nose had been one mass, a
triangular mass. When we get the bridge of the nose and the outer nostril
defined we can stick a cone shaped tool to form the nostrils. There's a
ridge on the rim of your nostril, it doesn't move straight into the upper
lip and ain't we glad of that when we have the sniffles. |


